How to Use Healing Clay?
How would you feel if you could harness nature's most powerful healing secret right in your own home? Healing clay has been trusted for thousands of years to naturally detoxify, repair, and rejuvenate skin while promoting faster recovery from injuries and inflammation.
Whether you're dealing with minor cuts, muscle soreness, or simply want to elevate your skincare routine, understanding how to properly use healing clay can transform your wellness journey. From bentonite to French green clay, each type offers unique benefits that can revolutionize how you approach natural healing.
What Makes Healing Clay So Powerful?
Healing clay works through a process called adsorption, where negatively charged clay particles attract and bind to positively charged toxins, bacteria, and impurities. This natural electromagnetic pull creates a powerful detoxifying effect that draws harmful substances from your skin and underlying tissues.
The science is remarkable: When properly activated with water or apple cider vinegar, healing clay creates a negative ionic charge that acts like a magnet for toxins. This process not only cleanses but also delivers essential minerals like silica, iron, magnesium, and potassium directly to your skin.
Understanding Different Types of Healing Clay
Bentonite clay forms the foundation of most healing clay products. Derived from volcanic ash, this powerhouse clay offers the strongest detoxifying properties and is excellent for oily or acne-prone skin. Its high absorption capacity makes it perfect for drawing out deep-seated impurities.
French green clay (also called illite clay) provides gentler healing action while maintaining potent detoxification benefits. Rich in minerals and known for its anti-inflammatory properties, French green clay works exceptionally well for sensitive skin and muscle recovery.
Kaolin clay offers the mildest approach, making it ideal for daily use and sensitive skin types. While less aggressive than bentonite, kaolin still provides effective cleansing and healing benefits.
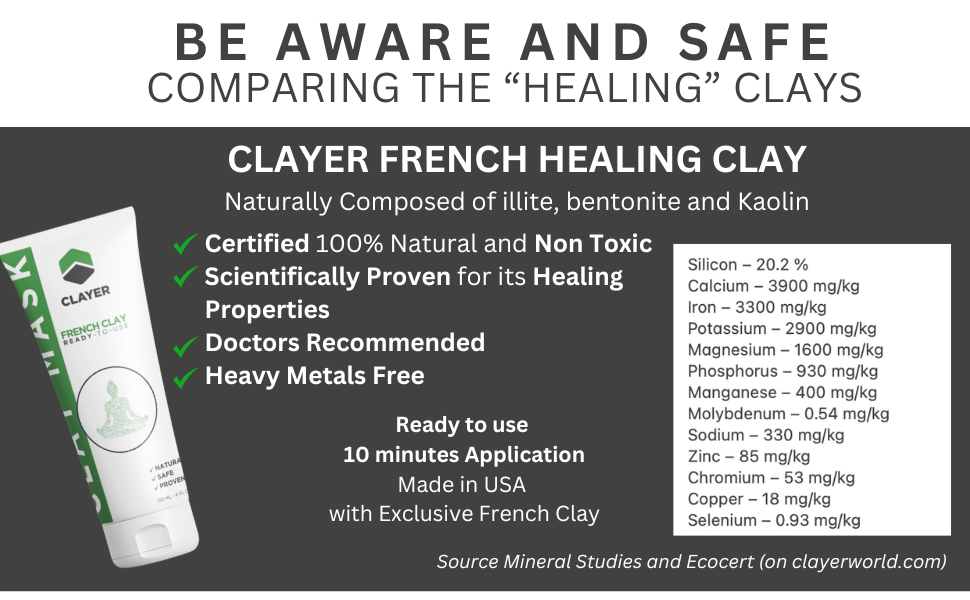
CLAYER's French Healing Clay combines the best of these clay types, creating a scientifically proven formula that's both gentle and effective for all skin types.
Step-by-Step Application Guide
Preparation is Everything
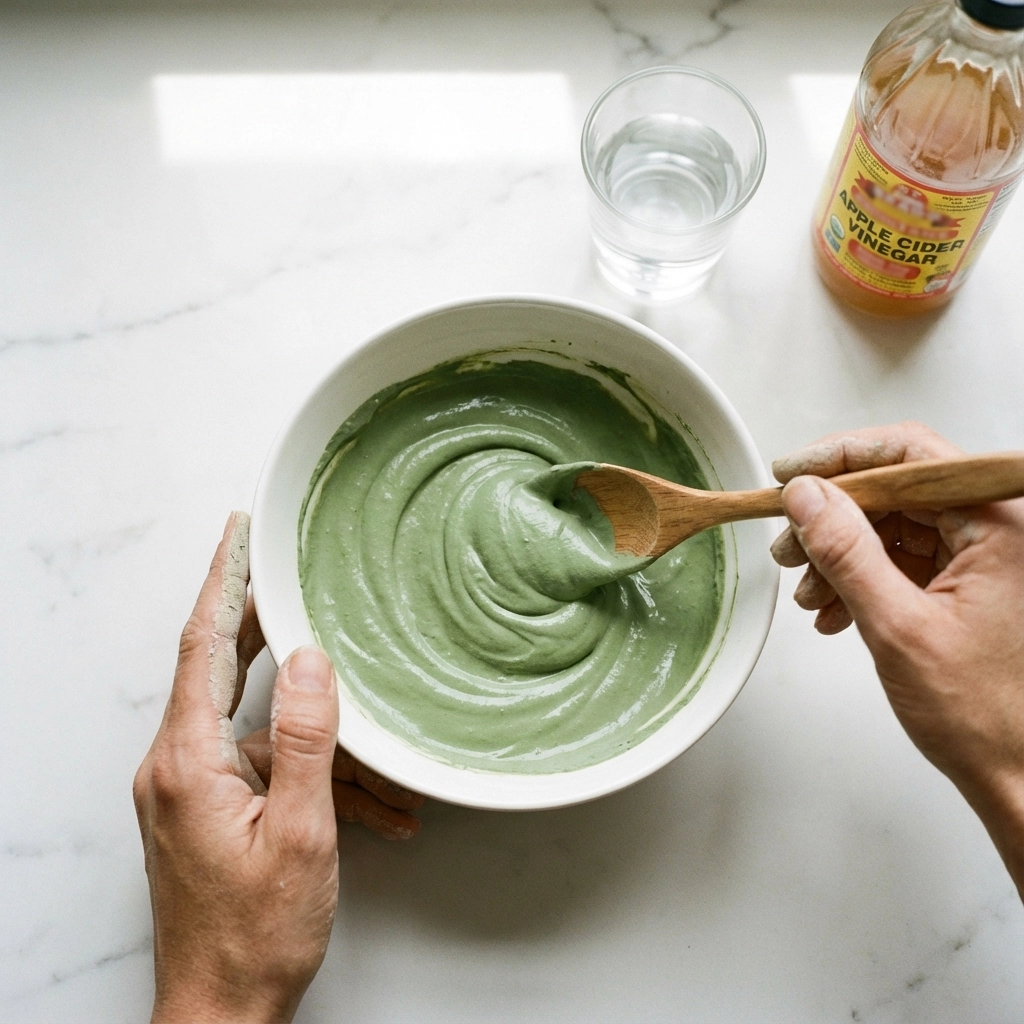
Start with a non-metal bowl and non-metal utensil – this is crucial because metal can interfere with the clay's ionic charge. Mix one part healing clay with equal parts liquid (purified water or raw apple cider vinegar) until you achieve a smooth, paste-like consistency.
Pro tip: Apple cider vinegar enhances the clay's effectiveness by balancing pH levels, but start with water if you have sensitive skin.
Cleanse First, Always
Before applying healing clay, thoroughly cleanse the treatment area with mild soap and water. This removes surface oils, dirt, and debris, allowing the clay to penetrate deeper and work more effectively. Pat the area dry with a clean towel.
Application Technique
Apply the clay mixture in a thick, even layer using clean fingers or a brush. The layer should be substantial enough to maintain moisture while drying – typically about 1/8 inch thick. Avoid the immediate eye area and any open wounds unless you're using a certified medical-grade clay.
For facial masks: Cover your entire face except for eyes and lips, extending down to your neck for comprehensive treatment.
For injury recovery: Apply directly to the affected area, covering completely with a margin of healthy skin around the injury.
Timing Matters
Leave the clay mask on for 10-20 minutes depending on your skin sensitivity and the clay's strength. You'll feel a natural tightening sensation as the clay dries – this is completely normal and indicates the clay is actively working.
Never let clay completely dry and crack on your skin, as this can cause irritation. If you have sensitive skin, remove the clay while it's still slightly damp.
Advanced Application Methods
Full Body Detox Treatment
For comprehensive detoxification, create a larger batch using 4-6 tablespoons of clay mixed with enough liquid to cover your desired treatment area. Apply to arms, legs, or torso, focusing on areas with muscle tension or skin concerns.
This method works exceptionally well for athletes recovering from intense training or anyone dealing with widespread muscle soreness.
Targeted Spot Treatment
Mix a small amount of clay (1 teaspoon) with just enough liquid to create a thick paste. Apply directly to blemishes, minor cuts, or insect bites. This concentrated treatment can be left on for up to 30 minutes for maximum benefit.
Clay Baths for Whole-Body Healing
Add 1/4 to 1/2 cup of healing clay directly to a warm bath. Soak for 15-20 minutes to experience full-body detoxification and mineral absorption. This method is particularly effective for those with skin conditions like eczema or psoriasis.
Proper Removal and Aftercare
Gentle Removal Process
Never scrub or forcefully remove dried clay. Instead, splash warm water on the treatment area and gently massage in circular motions as the clay softens. Continue adding water while gently working the clay off your skin.
Some redness after removal is normal and typically disappears within 30 minutes. This temporary redness indicates increased blood circulation – a sign that the clay is working effectively.
Post-Treatment Care
After removing the clay, apply a gentle, natural moisturizer to restore your skin's moisture barrier. Avoid harsh skincare products for 24 hours following clay treatment, as your skin will be more sensitive and receptive to absorption.
For injury recovery applications, consider following up with CLAYER's Active Recovery products for enhanced healing benefits.
Safety Considerations and Best Practices
Always perform a patch test before first use, especially if you have sensitive skin or allergies. Apply a small amount of clay mixture to your inner wrist and wait 24 hours to ensure no adverse reactions occur.
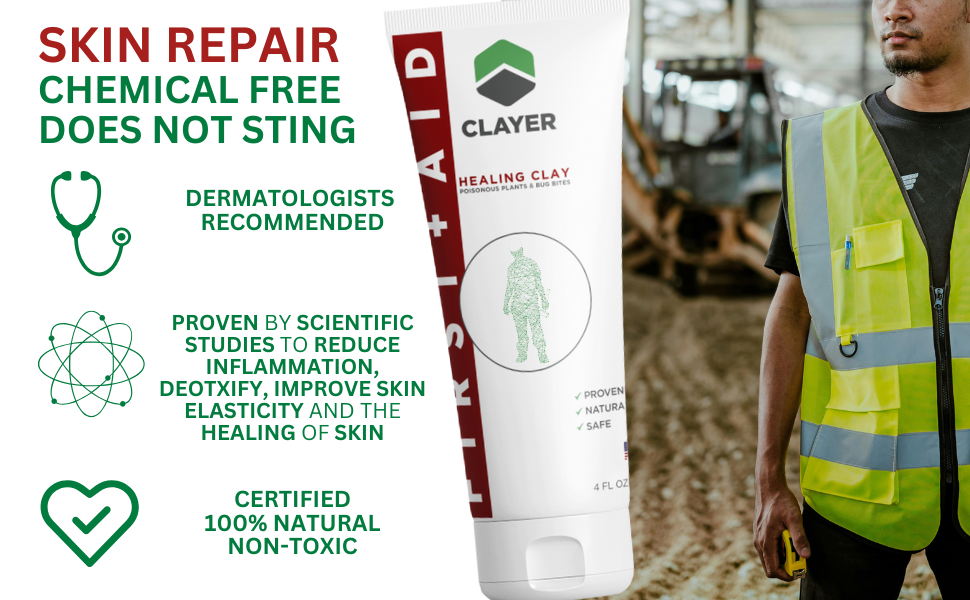
Choose certified, non-toxic clay to avoid exposure to heavy metals and contaminants. Many commercial clays contain dangerous levels of lead and other toxins that can actually harm rather than heal your skin.
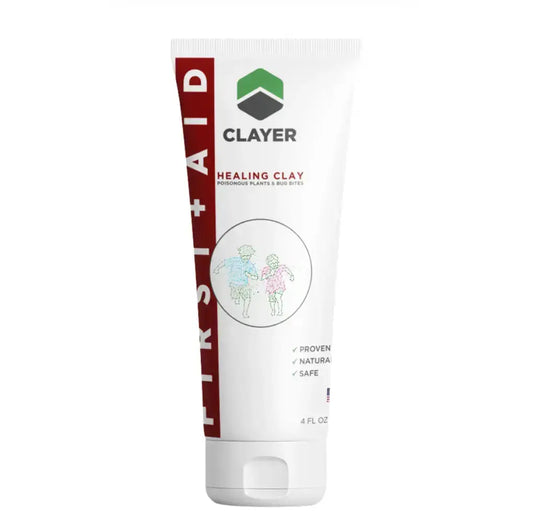
CLAYER's healing clay is certified 100% natural and non-toxic, tested for purity, and recommended by dermatologists nationwide.
Frequency guidelines: Start with once or twice weekly applications and gradually increase as your skin adapts. Daily use is generally safe for gentle clays like kaolin, while stronger bentonite clays should be limited to 2-3 times per week.
Why CLAYER Sets the Standard
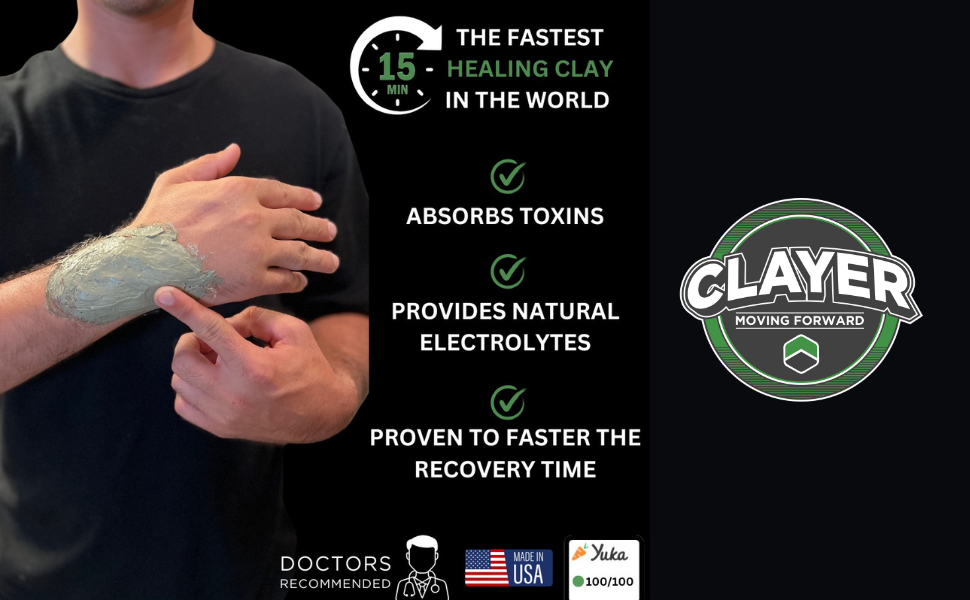
Unlike generic healing clays that may contain harmful contaminants, CLAYER's French Healing Clay undergoes rigorous testing and certification. Doctor-recommended and scientifically proven, CLAYER delivers faster recovery times and superior healing results.
Key advantages:
- Heavy metals free – tested and certified for purity
- Ready to use – no guesswork with proper ratios
- Fast-acting – visible results in just 15 minutes
- Scientifically formulated – optimal blend of bentonite, illite, and kaolin clays
Athletes from major leagues trust CLAYER for injury recovery, while families rely on it for everyday skin care and first aid needs.
Transform Your Healing Journey Today
Healing clay isn't just another skincare trend – it's a time-tested, scientifically backed solution that can revolutionize how you approach natural healing and wellness. From minor injuries to comprehensive skincare routines, proper clay application techniques can deliver remarkable results when you choose the right product.
You deserve the purest, most effective healing clay available. Don't settle for untested alternatives that could expose you to harmful contaminants. Choose CLAYER's certified healing clay and experience the difference that quality and purity make in your healing journey.
Ready to unlock nature's most powerful healing secret? Your skin, your recovery, and your overall wellness will thank you for making the switch to proven, professional-grade healing clay.